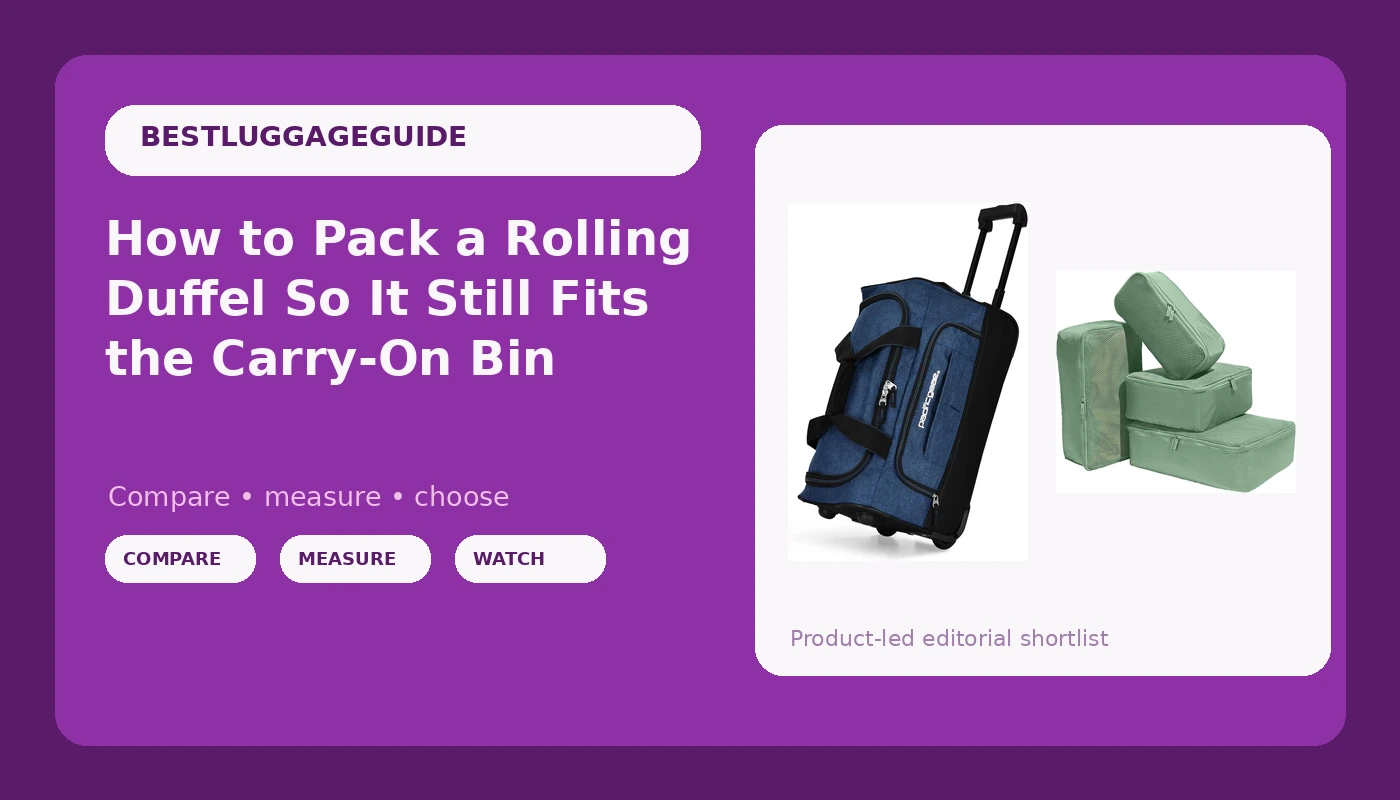
I spent six years working the gate at O'Hare, and the rolling duffel is the bag I pulled out of line more than any other. Almost never because it was too big on paper. It was because it was packed wrong: the top bulged, the zipper strained, and it would not slide into the sizer no matter how hard the passenger pushed. Learning how to pack a rolling duffel is not about owning less. It is about loading the bag in the order the bag wants to be loaded, so the shape that walks onto the plane is the same shape you measured at home.
A duffel is a different animal from a hard case. There is no rigid shell holding the outline for you, so every soft item you drop in changes the silhouette. That cuts both ways. A duffel will squeeze into a tight bin a hard case cannot, but it will also spread into a lump that fails the sizer if you treat it like a laundry basket with wheels.
The method below is the one I use, and it works whether you are flying once a year or once a week. It also assumes you have already checked your airline's current published carry-on limits, because those numbers change and I am not going to quote them from memory.
Why you should trust me
Six years on the ramp side of the counter at O'Hare, then four more flying more than 120 segments a year. I own 11 bags in active rotation and I judge every one of them the way I judged them at the gate: what survives the belt, what fits the bin, and what the airline will not fight you about.
I do not care what the marketing copy says a bag measures. I care what a tape measure says, and I care what the bag looks like after 20 flights. Zippers are the first thing to die. The handle is the second. If both are still working after a year of real use, the bag was worth the money.
I also do not take payment for placement, and I say so up front because that is the only way any of this is useful to you.
How I judge gear before it goes in a guide
Four things, in this order.
Bin fit. Not the advertised size, the actual one. Empty weight matters here too, because every pound of bag is a pound you cannot pack. A heavy duffel eats your allowance before you put a single shirt in it.
Wheelbase stability. On a two-wheel rolling duffel, the wheels sit at one end. That means the bag balances on a narrow footprint and wants to tip when it is top heavy. Load it wrong and it falls over in the security line every single time.
Handle wobble. Grab the extended handle and shake it side to side. If it rattles before the first flight, it will be worse by the tenth. A wobbly handle is also how people snap zipper pulls, because they end up dragging the bag by the wrong part.
Zipper behavior. Unzip and rezip the main opening with the bag empty. If the pull catches the liner, that is a design flaw, not a break-in period.
Everything below is filtered through those four tests.
The gear that makes this method work
You can pack a rolling duffel with nothing but a trash bag and good intentions, but two pieces of gear make the difference between a bag that fits the bin and a bag that gets gate checked.
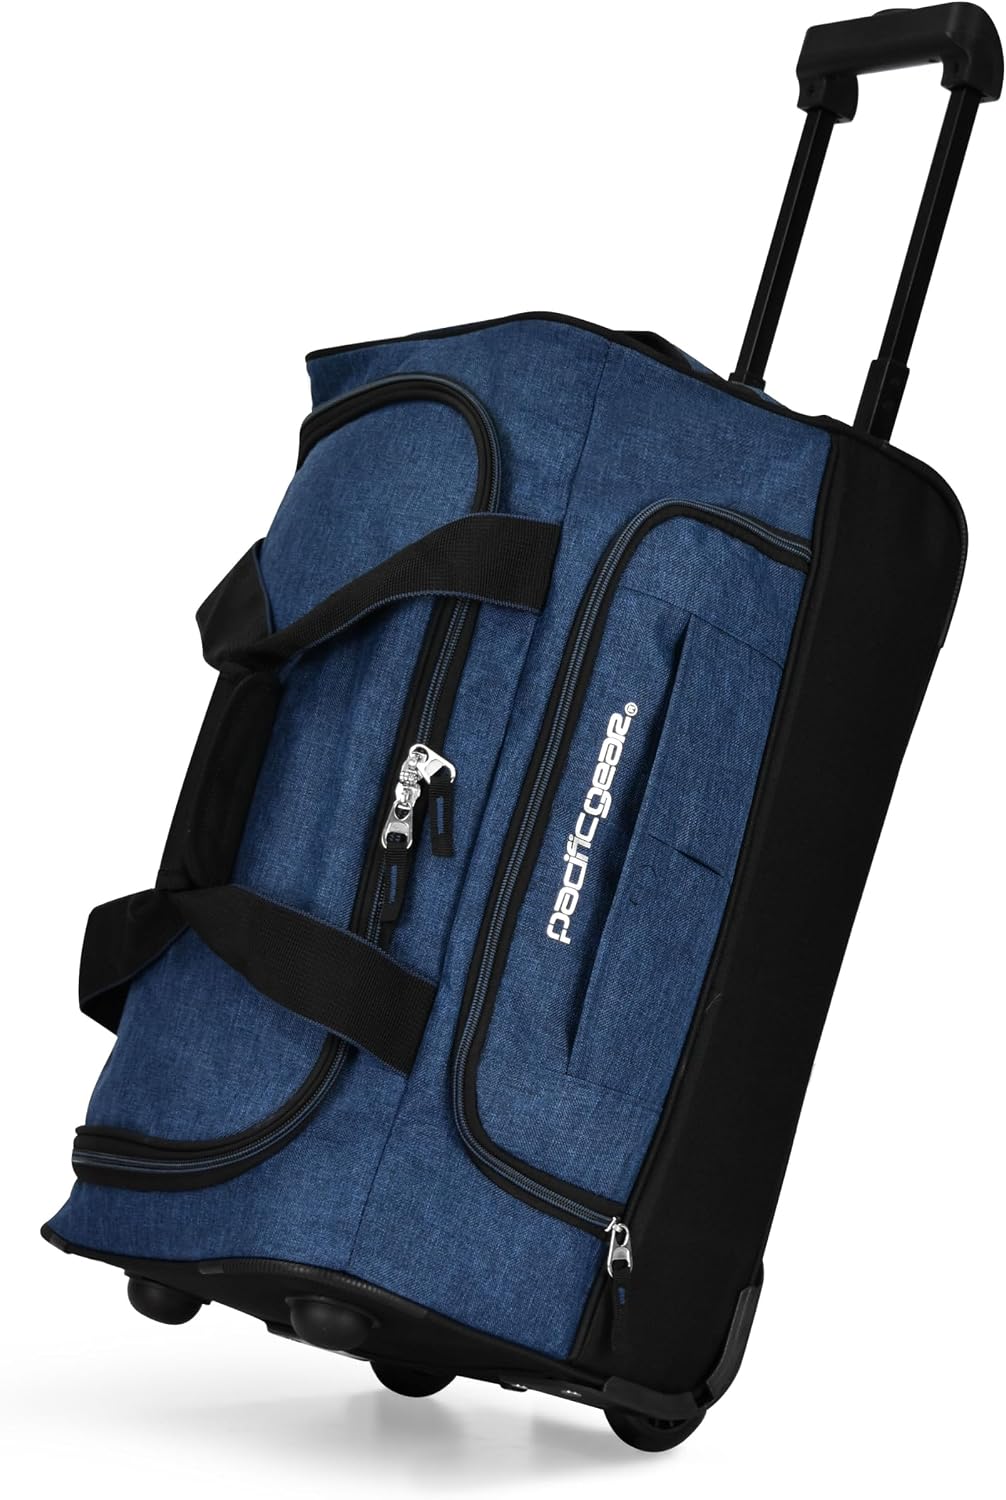
Our pick: Pacific Gear Duffel Bag with Rolling Wheels
 Visit on Amazon →
The reason I point people to a rolling duffel in this price range is the shape, not the badge. A duffel opens along the top, which is exactly what the packing method below needs. You are not folding a clamshell open on a hotel bed and repacking it from scratch every morning. You are lifting one layer out, taking what you need, and dropping it back in.
Two things to check on any rolling duffel before you commit. First, look at how the wheels sit. Recessed wheels do not steal usable space from the interior and they do not catch on the bin lip when you lift the bag overhead. Second, extend the handle and shake it. If it wobbles at the joint out of the box, walk away, because it only gets looser.
Flaws but not dealbreakers: Rolling duffels are top heavy by nature. The wheels are at one end and the soft body is above them, so a badly packed one tips forward in line. That is a packing problem, not a bag problem, and the load order in the next section fixes it.
Anyone who wants a carry-on that rolls instead of hanging off a shoulder and does not want to pay hard case money should start here.
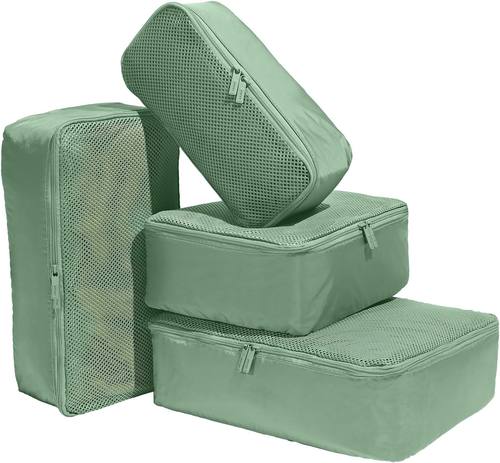
The sanity saver: Away Insider Packing Cubes Set of 4, Lightweight Travel Luggage Organizers
 Visit on Amazon →
Packing cubes do not save you space. I want to be honest about that, because the marketing around them promises compression that most cubes do not deliver. What they actually do is give a soft bag an internal skeleton, and that is the whole game in a duffel.
Without cubes, a duffel becomes a pile. You dig for a sock at 3am in a hotel room, you pull out a layer, and the bag never looks the same again for the rest of the trip. With cubes, each category has a home, the bag holds its shape when you open it, and you can lift an entire cube out without unpacking anything else.
A set of 4 is the right number for a duffel this size. One for tops, one for bottoms, one for small items, one spare that flattens into the lid or holds dirty laundry on the way home. More than that and you are just paying for fabric you will leave in a drawer.
Flaws but not dealbreakers: Cubes add a little weight and a little bulk. On a strict one-bag trip with a tight weight allowance, pack the cubes and skip the second pair of shoes instead. The cubes earn their ounces back in the morning.
Anyone who has ever repacked an entire duffel on a hotel floor will get their money back on the first trip.
The actual packing workflow
Now the part you came for. This works with any top-opening rolling duffel, at any price.
Step one: Measure the empty bag. Lay it flat, tape measure on the longest side, then the width, then the depth with the bag zipped and nothing in it. Add the three numbers together for your linear inches and compare that against your airline's current published carry-on limit. If the empty bag is already close to the limit, you have a hard ceiling on how much you can pack, and you need to know that before you start.
Step two: Weigh it empty. Put the empty bag on a luggage scale. Whatever it weighs is stolen directly from your packing allowance. Write the number down.
Step three: Load the heavy items over the wheelbase. This is the step everyone skips. Put shoes, toiletries, and anything dense at the end of the bag nearest the wheels, flat against the bottom. That puts the mass over the part of the bag that actually touches the ground, which is what stops a two-wheel duffel from tipping forward in line.
Step four: Build the middle with cubes. Tops in one, bottoms in another, small items in a third. Pack them flat, not standing on edge. Flat cubes stack into layers, and layers are what let you lift one out without destroying the whole bag.
Step five: Fill the corners with soft goods. Socks, underwear, a rolled t-shirt, anything that squishes. Corners are wasted space in every bag, and in a duffel they are the difference between a flat top and a bulge.
Step six: Keep the top layer soft and thin. The last thing in should be a jacket or a thin layer that compresses under the zipper. If the top of your duffel is a pair of shoes, the bag will not close flat and it will not fit the sizer. This is the single most common reason a carry-on gets pulled at the gate.
Step seven: Close the zipper with the bag lying flat. Zip a loaded duffel while it is standing up and you will fight the zipper the whole way, which is how liners get caught and pulls get bent. Lay it down, hold the two sides together with one hand, and zip with the other.
Step eight: Do the sizer test at home. Measure the loaded bag at its widest point, top and bottom. Then walk it around the block. If it will not roll straight on a sidewalk without tipping, it will not roll straight in a security line either, and you still have time to repack.
One more thing for the gate itself: when you load the bag into the bin, go wheels first. It slides in easier and it comes out easier, and you will not be the person holding up the boarding line.
The mistakes that get a duffel gate checked
Overstuffing the top. The sizer measures the bulge, not the bag. If you can see the outline of a shoe through the fabric, you are over the line.
Packing liquids at the bottom. They end up under everything, they leak downward, and you have to unpack the whole bag at security. Keep the quart bag in an outer pocket you can reach without opening the main compartment.
Packing for the trip you wish you were taking. Two pairs of shoes for a four day trip is one pair too many. Every extra item makes the bag thicker, and thickness is what fails the sizer.
Assuming every airline measures the same way. They do not. Check the current published limits for the specific carrier on the specific ticket you bought, because regional and mainline rules can differ.
Boarding in the last group and expecting bin space. A duffel that fits the sizer can still get gate checked on a full flight if the bins are gone. Board early when you can, and know that a duffel compresses better than a hard case when space is tight.
What this all costs
Add up the duffel and the cubes and you are still well under the price of a single hard case with a warranty you may never use. Compare that against your own carrier's checked bag fee for a round trip, which you can look up in about a minute, and the math usually makes itself.
The cost per trip gets better the more you fly. A bag that survives a hundred flights at the price of a duffel is a rounding error per segment. A bag that gets gate checked because it will not close flat costs you time on every single trip, and time at the gate is the one thing you cannot buy back.
Do the measuring once. Write the numbers on a note in your phone. Pack in the same order every time. That is the whole job, and it is the difference between walking onto the plane with your bag and handing it to someone like me at the jet bridge.