Most people pack a carry-on the way they pack a closet: everything flat, everything stacked, and a quiet prayer that the lid closes. Then they reach the gate, the sizer comes out, and the bag that fit on the way out does not fit on the way home, because of two souvenirs and a damp swimsuit.
Carry-on packing cubes fix the second half of that problem. They do not create space. They create a fixed shape, and a fixed shape is what lets you close a 20-inch case in a hotel room at 5am without sitting on it.
I spent six years as a gate agent at O'Hare before I started reviewing bags full time. I have watched the sizer come out on a thousand boarding passes, and the travelers who never get pulled are almost never the ones with the expensive case. They are the ones whose bag has the same footprint on the return trip as it did on the way out. That is a packing system, not a bag.
Here is the whole thing, in order: what to buy, what goes where, and how to close the case so the gate agent never looks at you twice.
Why you should trust me
Six years on the gate at O'Hare taught me more about bags than any spec sheet. I watched them get thrown down a slide, stacked four high in a bin, and dragged by a strap that was never designed to be dragged. Now I review full time, fly more than 120 segments a year, and keep 11 bags in active rotation.
I judge every case the way I judged them at the gate: what survives the belt, what fits the bin, and what the airline will not fight you about. If a bag arrives as a press sample, I say so. If a brand's warranty story does not hold up, I say that too.
How I picked and how I tested
The gear list here is short on purpose. This is a packing guide, so there are exactly two purchases: the case and the cubes. Everything else you already own.
The criteria are the ones I used at the gate, and they are the ones you should run in your own hallway before you fly:
- Bin fit. The sizer at the boarding door is the only measurement that matters. Not the number on the hang tag, not the number in the listing.
- Linear inches. Most US carriers publish a carry-on limit in the 45 linear inch range, but those limits change by carrier and sometimes by aircraft. Check your airline's current page before you buy anything.
- Wheelbase. Set the case on tile, push it with one finger, and watch whether it tracks straight or veers. A narrow wheelbase wobbles when you load it.
- Handle wobble. Grab the extended handle and rock it side to side. If it moves empty in your living room, it will move worse fully packed in a boarding line.
- Zipper track. Run the zipper the full length twice. If it catches the liner on the second pass, it will catch every time.
I will not quote you a number off a spec sheet as if it were a measurement. If a case is advertised at 21 inches, put a tape on it. That is a rule I picked up from the TSA agent who taught me the bin gauge trick, and it has saved me more arguments than anything else I know.
The gear you need before you start
Two pieces, and you can pack the same way for a two-day trip or a nine-day one. The difference is how many cubes you use, not how many bags you buy.
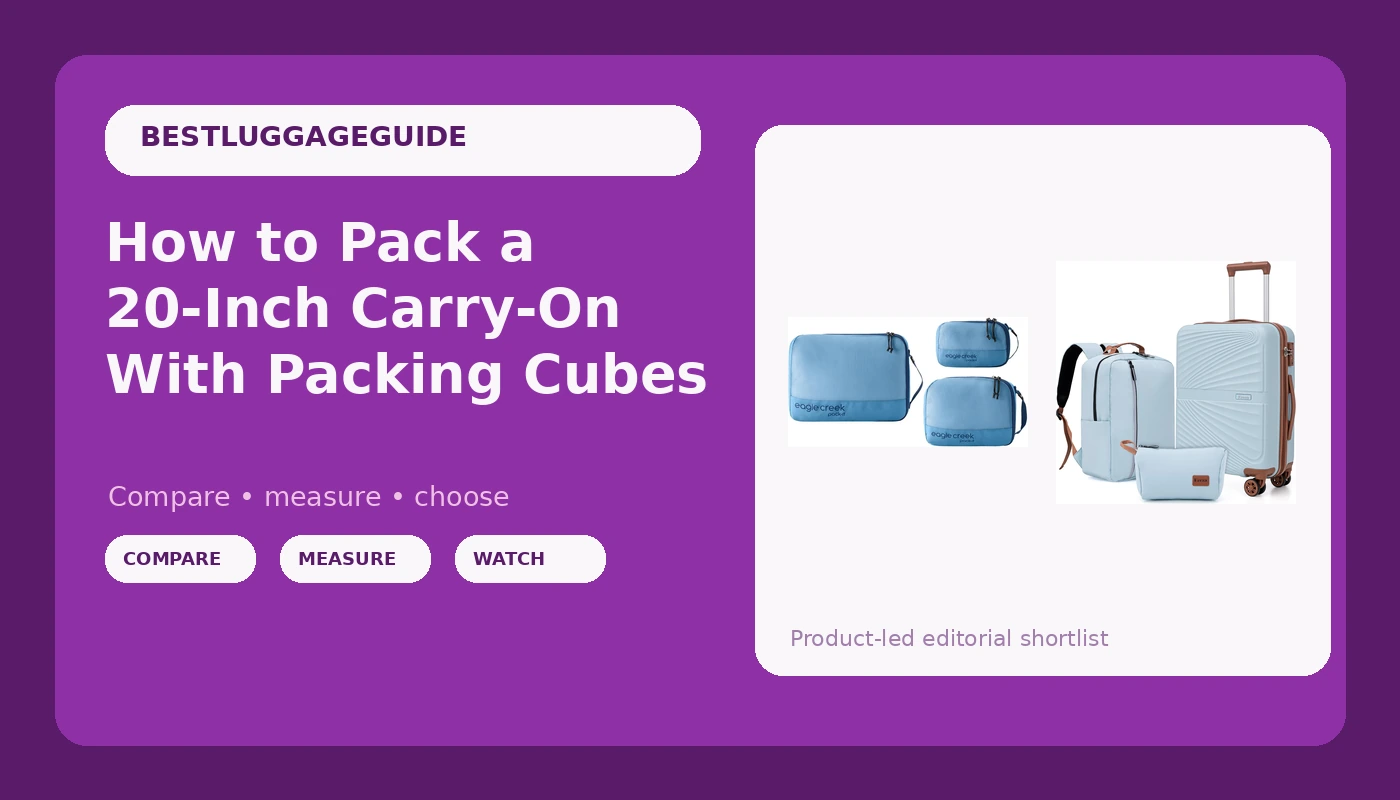
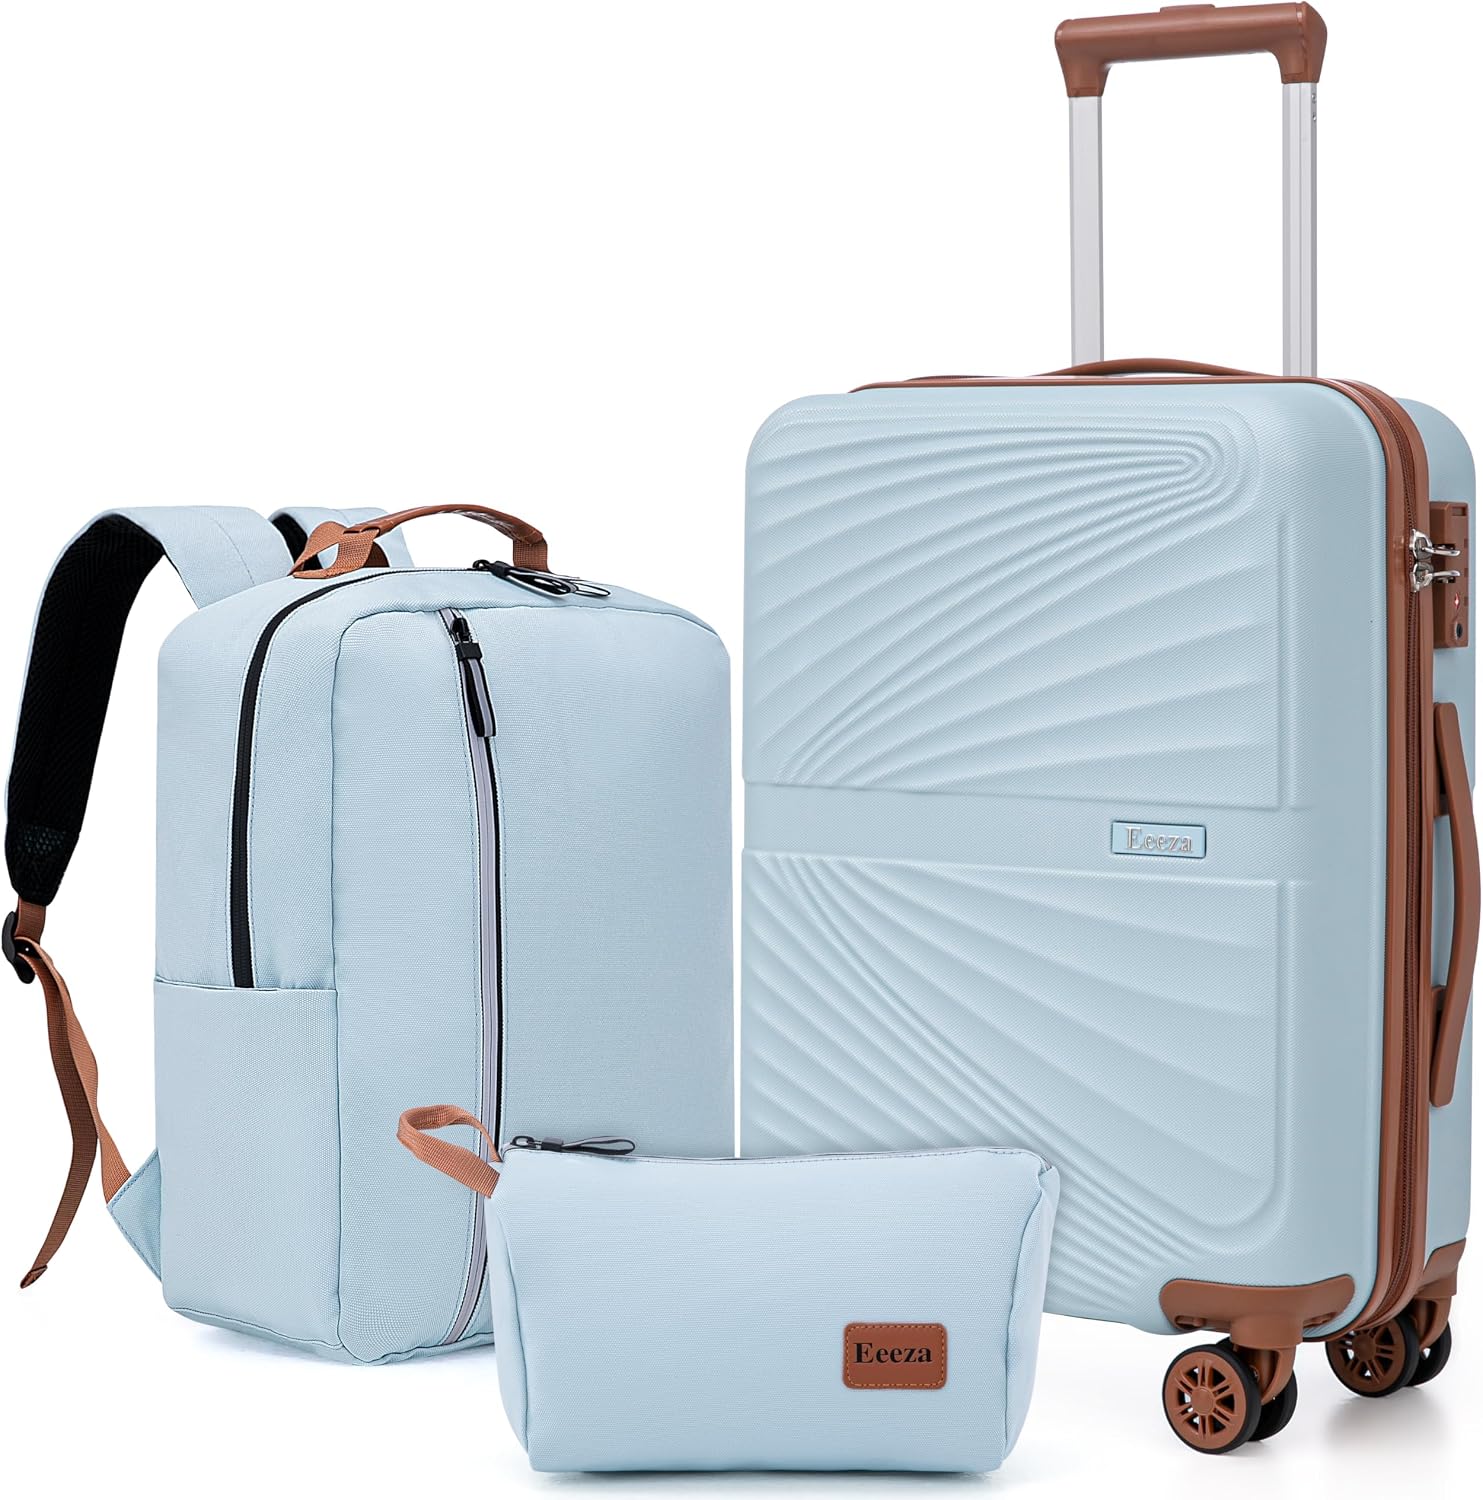
The carry-on: Eeeza Carry On Luggage Set Suitcase 3 Piece,Sky Blue(20"/BP/TB)
 Visit on Amazon →
The 20-inch spinner is the piece that matters. Everything else in the box is a bonus and a risk. The backpack and the tote are useful gear on their own, but the moment you try to board with all three, you are not a carry-on traveler anymore. You are a person with three bags and a gate agent who has to make a decision about you.
My rule is simple. The 20-inch case goes in the bin, one soft bag goes under the seat as your personal item, and the third piece stays home unless you are checking it. That keeps you inside the allowance on every mainline US carrier I have dealt with, and it keeps you out of the argument entirely.
The 20-inch class is also the right size for a week if you pack it as a system instead of a pile. Larger cases get flagged at the door more often, and a bag that gets gate checked is a bag you may not see again until baggage claim, which is exactly the outcome you are trying to avoid.
Flaws but not dealbreakers: Buying this as a set means paying for pieces you may never fly with. That is money sitting in a closet, not a defect in the case. If you already own a backpack you like, buy the case on its own.
Anyone who wants one purchase to cover the carry-on and the personal item, without hunting for two things that match, will get the most out of this.
The organizer: Eagle Creek Pack-It Reveal Cube Set, XS/S/M, Blue Dawn
 Visit on Amazon →
The Reveal set runs extra-small, small, and medium, which is the right ladder for a 20-inch case. The medium fills the base, the small stacks on top of it, and the extra-small takes the lid pocket and the odds and ends: chargers, a belt, the pair of socks you always forget.
The mesh panel is the part that earns its keep. You can see what is in each cube without opening it, which sounds trivial until you are digging for a charger in a dark hotel room at 11pm with the hallway light coming under the door.
Here is the part most people get wrong about packing cubes. They do not save space. A pile of rolled shirts spreads out and fills every corner of a case, so the case looks full long before it is. A cube holds its own volume, which means you can see exactly how much room is left and pack to that number instead of to a feeling.
Flaws but not dealbreakers: Three cubes is not a lot if you pack heavy. For a cold-weather week, plan on two sets or accept that the medium cube is your only clothing cube and the small one is your shoes.
Anyone who repacks more than once per trip will feel the difference on the second morning, which is the morning that decides whether the trip was relaxing.
The actual packing workflow
Now the part you came for. This works with any 20-inch case and any three-cube set. It takes about 20 minutes the first time and about four minutes after that.
Step one: Check your limits, not your instincts. Look up your carrier's current carry-on dimensions and weight limit before you pack a single thing. If you have a kitchen scale, weigh the empty case. Every pound of case weight is stolen directly out of your allowance, and it is the one cost you cannot pack around.
Step two: Decide the bag count and stop there. One carry-on in the bin, one personal item under the seat. If your set includes a third piece, that piece stays home or it goes in a checked bag. There is no clever third option, and the gate agent has heard all of them.
Step three: Sort by category, not by day. Three piles: tops, bottoms, and smalls. This is the whole trick. Packing by day means you unpack the entire case to find one shirt on Tuesday. Packing by category means you open one cube and everything in it works together.
Step four: Roll, then cube. Rolled items fill a cube's square footprint with fewer gaps than folded items, which leave dead air at the corners. Roll tight, then place them side by side so the cube fills flat.
Step five: Load the base with the medium cube. Medium cube goes in first, flat on the bottom of the case, filling the footprint. This is the anchor. Everything else stacks on it.
Step six: Stack the small cube on top. If there is a gap between the small cube and the case wall, that gap is where the extra-small cube goes, or where you tuck socks. Empty space in a packed case is not free space. It is space that will get filled with something you did not plan for.
Step seven: Put the heavy items near the wheels. Shoes, the dopp kit, anything dense goes at the end of the case that sits closest to the ground when the bag is upright. That puts the weight over the wheelbase instead of over the handle, which is the difference between a case that tracks straight and a case that fights your wrist through three concourses.
Step eight: Close it, weigh it, walk it. Zip it shut, weigh it, then take it for a lap around the house. Listen to the wheels on tile and on carpet. Grab the handle and rock it. If the handle wobbles empty in your hallway, it will wobble worse loaded at the gate, and that is the moment a gate agent decides your bag looks heavy.
Step nine: Run the repack test. Unpack the whole case and pack it again, timed. If it takes you 20 minutes, you packed too much and you will be miserable on the return leg. If it takes four, you have a system.
The competition and why it lost
The other ways to do this trip all lose for the same reason: they break the fixed shape.
The checked 24 to 28-inch case. It holds more, which means you pack more, which means you pay an overweight fee and then wait 40 minutes at a carousel. A checked bag is a bag you may not see for a day. That is not a risk worth taking to avoid a packing decision.
The single soft duffel. No wheelbase, no structure, and by the second concourse it is on your shoulder and your back is telling you about it. A duffel is a great second bag and a bad primary one.
The hard-shell-only approach. Hardside wins the visual argument. Softside wins the practical one, especially if you need a case that gives a little when the bin is tight. Polycarbonate shells crack at the corners when the belt drops them wrong, and I have seen it happen enough times that I do not treat a shell as armor.
Vacuum bags. They compress beautifully in the hotel room and then they re-inflate, and the case you closed on Sunday does not close on Friday. They also make every item a wrinkled mess, which is a cost you pay at the other end.
Buying a bigger bag. Oversized cases get checked, and checked bags get lost. The best luggage is the size you actually need, not the size you are tempted to buy.
What this all costs
I am not going to quote you a price that changes with every sale cycle. Check current Amazon price on the case and check current Amazon price on the cube set, and you will have your two line items. That is the entire shopping list.
The savings side is where the math gets interesting, and it is not a number I can put on a page. It is the checked bag fee you do not pay on the way out and again on the way home. It is the overweight fee you never get charged because you knew what your case weighed before you left the house. It is the replacement bag you do not buy next year because the zipper did not catch the liner and tear.
Over a few trips, the packing system costs less than the fees it prevents. That is not a pitch, it is just how the arithmetic works out when you stop paying to move a bag you did not want to check in the first place.
Do it once. Build the cubes, learn the order, run the repack test until it is boring. The case does not get you through the gate. The system does.